Plumbing Rough-In Inspection Checklist
June 21, 2026
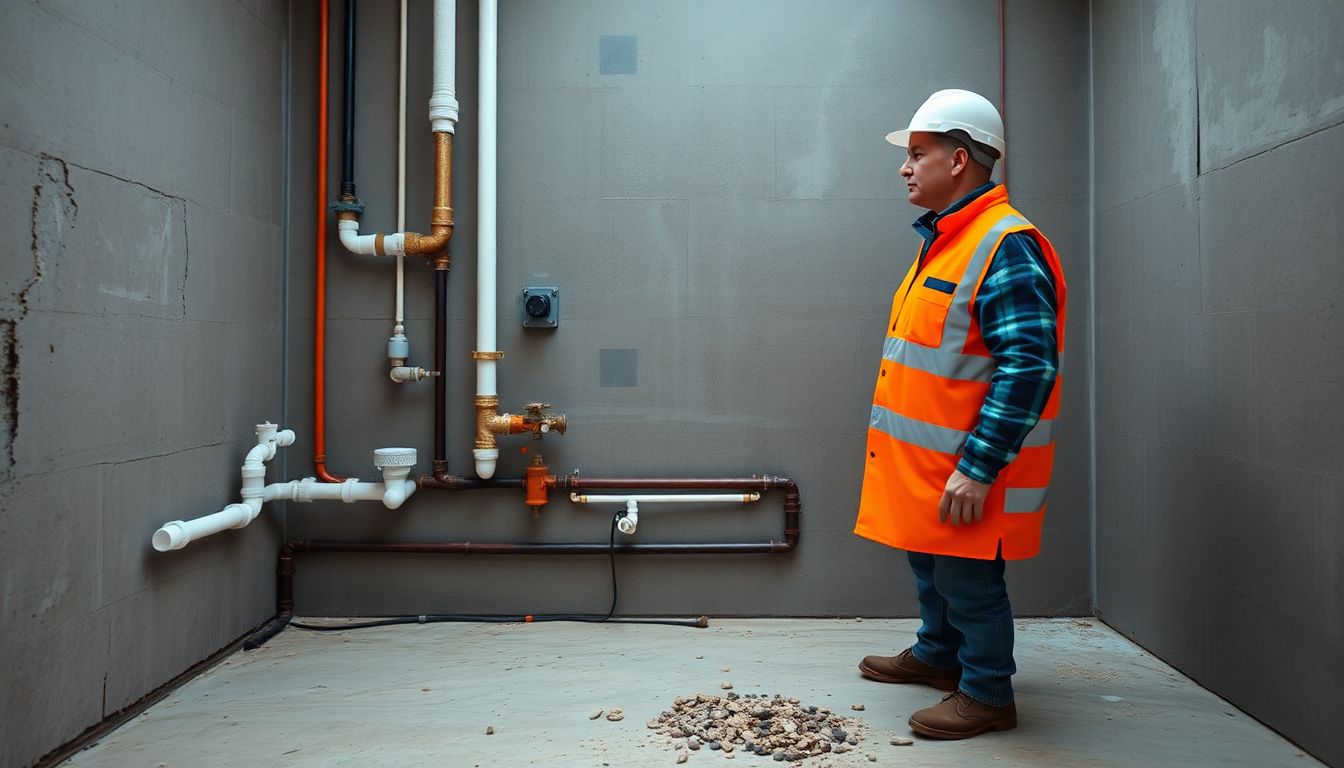
The plumbing rough-in (first fix) is the stage where all the pipework — supply, waste, and any heating — is installed before walls and floors are closed up. It's the most important plumbing inspection point, because once the work is concealed, a leak or a missed pipe means opening up finished surfaces to fix it. Inspecting thoroughly at rough-in is the difference between a quick check now and a destructive repair later.
This checklist covers the key rough-in inspection points. Work to the design, specification, and relevant plumbing/water regulations, which govern the detail and any required testing.
Layout and routing
- Pipe routes match the drawings and coordinate with other services (no clashes).
- Supply, waste, and vent pipes correctly positioned for the fittings to come.
- Pipework runs are sensible, accessible where needed, and avoid structural members it shouldn't pass through.
- Correct pipe material and size per specification.
Supply pipework
- Hot and cold runs correctly routed and identified.
- Isolation valves fitted where required.
- Pipework adequately clipped and supported at correct centres.
- Allowance for expansion where needed.
- Connections correct for the pipe type.
Waste and drainage
- Waste pipes to correct falls/gradients for self-draining.
- Correct pipe sizes for the appliances served.
- Traps and access points provided.
- Soil and vent pipe runs correct, vented as required.
- Connections to the drainage system correct.
Pressure and leak testing
- System pressure-tested per the regulations before closing up (this is critical).
- Test held for the required duration with no pressure loss.
- Results recorded.
- Any leaks rectified and re-tested.
Protection and penetrations
- Pipes protected where passing through structure.
- Penetrations through fire-rated elements correctly fire-stopped.
- Pipework protected from damage by following trades.
- Insulation/lagging applied where specified.
Coordination
- Boxing-out and access panels planned for valves and connections.
- Builder's work (chases, holes) complete and coordinated.
- Sequence agreed with other trades before closing up.
Records and photos
- Pressure test results recorded.
- Photographs of the concealed pipework routes before closing up — essential for future maintenance and dispute resolution.
- Any approvals or notifications completed.
Why the pressure test and photos are non-negotiable
Two things at rough-in save the most pain later: the pressure test and the photos. The pressure test confirms there are no leaks before the work is hidden, when finding one is cheap. The photos record exactly where every pipe runs, so future work doesn't drill into a concealed line. Skip either and you're gambling on the finishes above.
Capturing it digitally
A site inspection app lets you run the rough-in checklist on a tablet, record the pressure test result, and photograph every pipe route before it's covered — all held against the project. When someone needs to know what's behind the wall in two years, the record is there.
Key takeaways
The plumbing rough-in is the key inspection point because the work is about to be concealed. Check routing and coordination, supply and waste pipework, and correct falls; confirm the system has been pressure-tested with no loss before closing up; fire-stop penetrations; and photograph every concealed route. The test and the photos are what protect the finishes above.
Get the Site Audit app
Capture issues, generate reports and finish audits faster — right from your phone.